
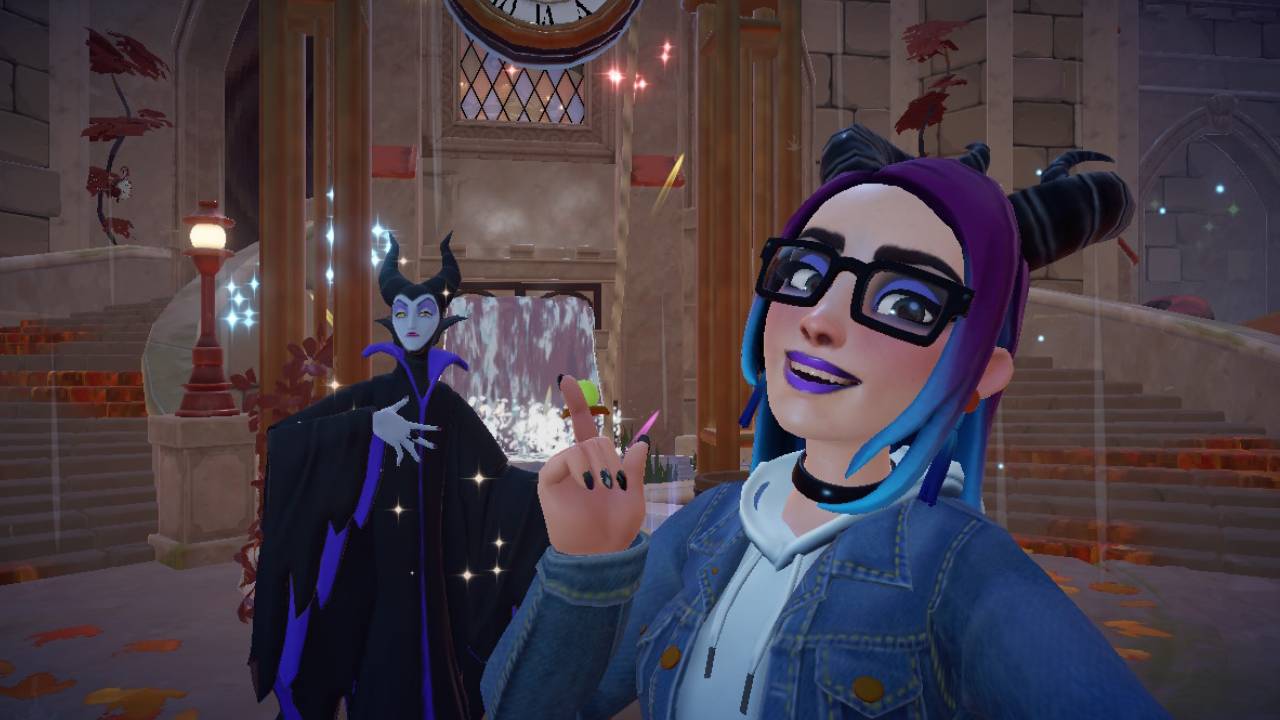
It may be a little unconventional to have a place where the villains and heroes coexist, but you’ve been able to pull it off in Dreamlight Valley. There’s something still not quite right in Storybook Vale though.
Maleficent’s disappearing act didn’t seem like it was by her own will, and if she’s supposedly part of the cause of the issues, why did others begin to suffer the same fate? Save Maleficent and get one step closer to solving this mysterious phenomenon.
Prerequisites For ‘The Unwritten Realms: Maleficent’s Gift’ Quest

Before you can get this quest, you’ll need to do the following:
Have Storybook Vale expansion.
Complete ‘A Long-Awaited Invitation‘ quest.
Complete ‘A Storm of Stories‘ quest.
Enter the Unwritten Realm.
You can check the status of this quest in the ‘Quests’ section of the main menu.
Talk To Maleficent

Since you would have made it to the Unwritten Realms to get this quest, all you’ll need to do to begin the quest is talk to Maleficent. She’s disappearing, and may be difficult for some people to see, but she should have a quest marker above her head.
After chatting with Maleficent about her current situation, you’ll need to chat with the Magic Quill. After that conversation, return to Maleficent for another idea.
Find the scraps of the ticket she ripped up in her fit of rage. The pages will be a dark parchment color.
Maleficent’s Missing Ticket Pieces Location
There’s a piece by the coffee table with the lamp.
There’s a piece behind the Magic Quill at the clerk’s desk.
There’s another piece at the seating area across from the one with the coffee table.
At the wall with the sign that says “Now Serving”, use the pieces of Maleficent’s ticket and change the numbers on the sign to match.
Answer For Proper Ticket Number
Interact with the wall, and set the numbers to read 9375.
Talk to the Magic Quill about Maleficent’s impending erasure. Eventually the Magic Quill should open the gate on the right that leads to the Review Floor.
Talk to the Magic Quill on the Review Floor about the situation. Use your Royal Net to activate the wheel on the stand nearby.
Maleficent’s First Anchor Moment

If you want to prevent Maleficent’s story from being permanently erased, you’ll have to proceed to the Processing Floor. Head through the portal to find Maleficent’s first Anchor Moment.
You’ll have to remove the inkie wall to continue. When you travel down the hall, you’ll end up in a room with a floor tile puzzle.
There’s a wheel stand on one end of the room. Use the Royal Net to activate it. It should reveal a clue for solving the floor tile puzzle. The clue will only stay up for a few seconds, but you’ll be able to activate the wheel as many times as needed to review the clue again.
There will be inkie walls, rock rubble, and fiery stones to remove. There will also be three dragon heads mounted on the walls in the room. Interact with each of them to make them face the proper direction.
Dragon Head Rotation Answer
Face all dragon heads as they would normally appear, with the horns at the top.
Once you’ve properly rotated all the dragon heads, one of the doors should automatically open. Head down the new hallway, and fish in the pool.
Return to the main room, and interact with the floor tile puzzle to place the missing tile. Another door will open when the floor tile puzzle is properly solved. Use the Royal Shovel to change the floor puzzle tiles.
Floor Tile Puzzle Answer

Travel down the hall and interact with the floating sparkling page. Return to Maleficent and show her the page you found.
Head back to the Review Floor. A new gate will be opened that leads to the second Review Floor. There will be another Magic Quill to speak with.
You’ll then need to search the area for clues to help you answer the supervisor questions. There will be a podium with a book on it. Read the book to get the necessary information.
Magic Quill Supervisor Quiz Answers
There are 44 seats in the waiting room.
There are 4 Magic Quills.
You are on Floor 2.
You’ll need to use your Royal Net on the three wheels located on the second floor. Once the light beam path fully connects, the door by the Magic Quill will automatically open.
A new portal will follow the light path into the next room. It will be designated as Processing Room B. Enter the portal to search for Maleficent’s second Anchor Moment.
Maleficent’s Second Anchor Moment

When you enter the portal to search for Maleficent’s second Anchor Moment, you’ll need to remove the teacups blocking the hallway. Use the Royal Shovel to remove them.
Remove the inkie wall and then read the scroll on the podium on the right of the new room. Take the path to the right and use the Royal Watering Can on the small water wheel to lower the stone path in the middle.
Continue ahead, removing any obstacles such as teacups and inkie walls. You’ll come to another small water wheel. Use the Royal Watering Can again to activate it.
Return to the entrance and walk across the middle path to claim the small water wheel. There’s a water stream in the previous room that’s missing a wheel. Return to the main room and interact with the water stream to place the water wheel.
Once you’ve placed the water wheel in the spot behind Aurora’s statue, activate it by using the Royal Watering Can. The statue should rise a bit.
Head to the other side of the room with the spinning wheel statue. Remove the teacup debris blocking your access to the water stream. Use the Royal Watering Can again to activate it.
This will unlock the next door. Go through the door and obtain the sparkling page to get the second Anchor Moment. Return to Maleficent and give her the page.
Maleficent’s Third Anchor Moment

For the third and final Anchor Moment, you’ll need to head back to the same floor you were just on. Continue past the portal you used into the next area.
There should be a wheel stand in the area. Use the Royal Net to gain access to the portal you need. Talk to the Magic Quill nearby.
Fish in the swirling vortex to catch the portal. When you enter the portal, the path in the next zone will be blocked by rocky rubble, so remove it with the Royal Pickaxe to continue.
There’s a type of sliding puzzle in the room. Interact with the weapon racks and the armor stand to unlock the next door along the path.
Each new room will have a slightly more complex sliding puzzle to solve. Move the necessary pieces to allow the suit of armor to progress.
Before you can return the page to Maleficent, you’ll need to talk to the Magic Quill. It will have a quest marker above it.
Return to Maleficent and give her the bad news. You can also choose to give her the last Anchor Moment.
Talk to the Lorekeeper. You’ll be able to welcome Maleficent, and then you can chat with her. This will complete the quest. You’ll automatically receive the next quest in the series, ‘The Missing Princess’.